
How to Care for Button Fern
Care guide for Pellaea rotundifolia, a charming fern with round leathery buttons along wiry arching fronds.
Read the full Button Fern encyclopedia entry →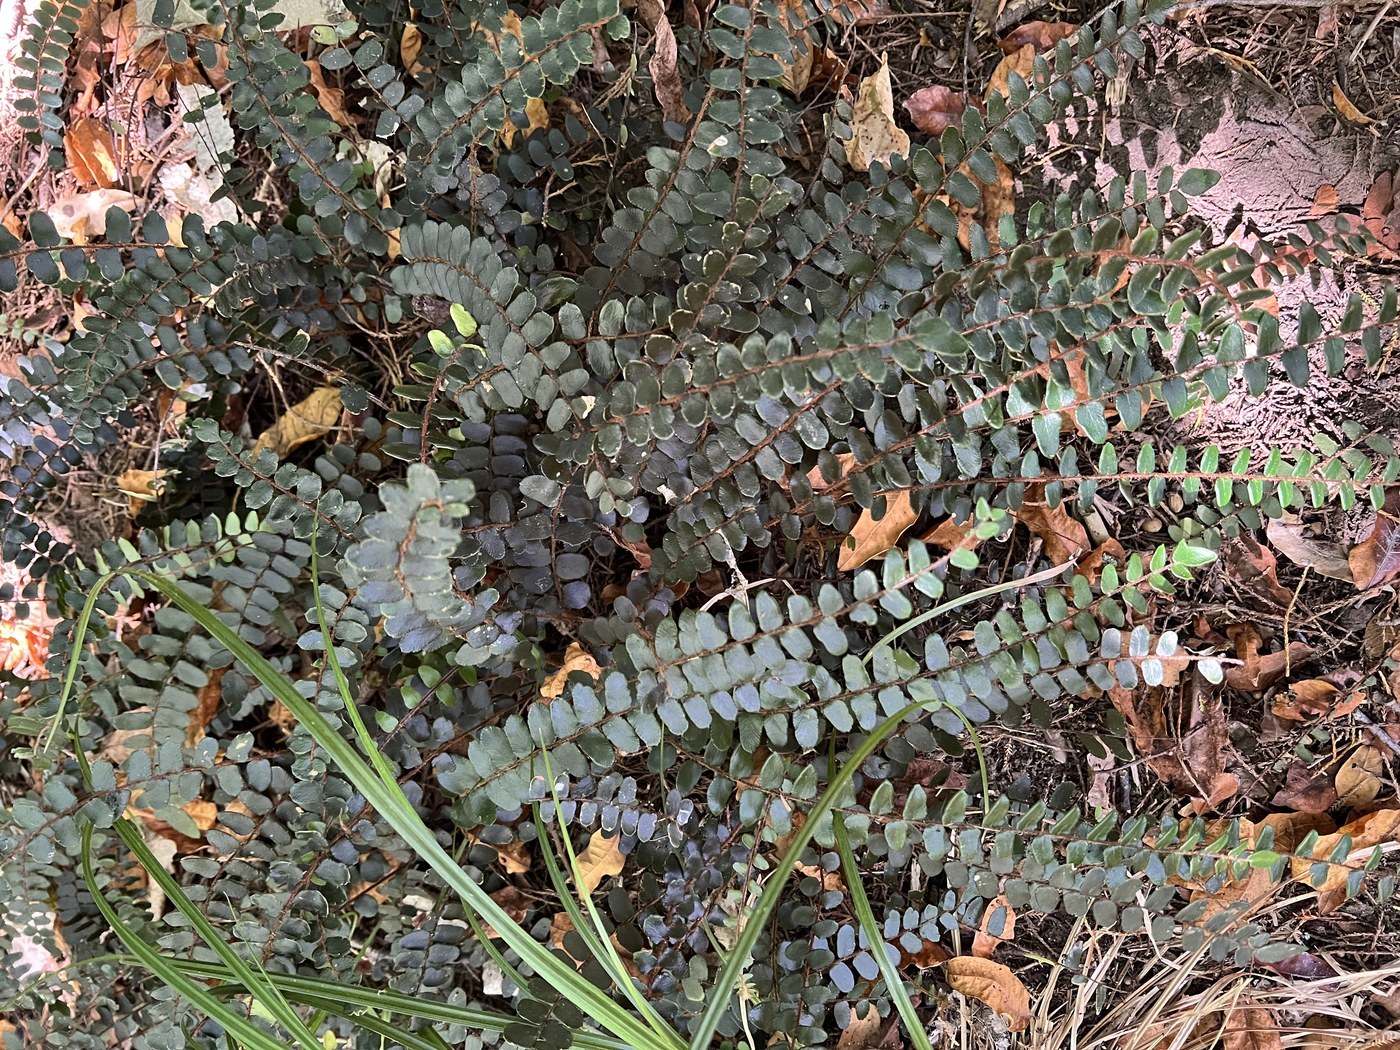
The Button Fern (Pellaea rotundifolia) is a distinctive small fern with wiry, arching fronds lined by rows of round, leathery, dark green buttons. Unlike many ferns it comes from drier rocky habitats, so it is more tolerant of lower humidity, though keeping it lightly moist and steady takes a moderate touch.
Light
Provide bright indirect light, avoiding direct sun which can scorch the delicate fronds. A spot near an east or north window, or a few feet back from a brighter window, suits it well. It also tolerates moderate shade, though very low light slows growth and can make it sparse.
Water
Keep the soil lightly and evenly moist, watering when the surface just begins to dry. Button Fern is less thirsty than typical ferns and dislikes being waterlogged, so avoid soggy soil that can rot its fine roots. It is also less forgiving of complete dryout than a succulent, so aim for consistent light moisture rather than extremes.
Soil & Potting
Use a well-draining, humus-rich potting mix with added perlite or fine bark for aeration. A slightly gritty mix reflects its rocky native ground. Ensure the pot has drainage holes, since standing water quickly harms the roots.
Humidity & Temperature
Though more drought-hardy than most ferns, Button Fern still prefers moderate humidity and grows best above about 40-50%. Average indoor humidity is usually acceptable, but very dry heated air can brown the fronds. Keep it in comfortable temperatures of about 60-75F and away from cold drafts and hot vents.
Feeding
Feed with a balanced liquid fertilizer diluted to half strength once a month during spring and summer. Ferns are light feeders, so avoid strong doses which can burn the fine roots and scorch frond tips. Stop feeding in fall and winter.
Propagation
Propagate by division in spring: gently separate the clump into sections, each with its own roots and several fronds, and pot them up individually in moist mix. Keep divisions warm and lightly moist until they establish. Spore propagation is possible but slow and rarely done at home.
Repotting / Pruning
Repot every two years or when the plant outgrows its pot, in spring, moving up one size. Pruning is minimal — simply trim away any old, browned, or damaged fronds at the base to keep the plant tidy and encourage fresh growth.
Common Problems & Pests
Browning or crispy fronds usually mean the air is too dry or the soil dried out too much, while yellowing and mushy stems point to overwatering. Keep moisture steady to avoid both. Watch for scale, mealybugs, and spider mites, particularly in dry conditions; treat early with gentle methods like wiping and insecticidal soap.
Seasonal Care Tips
In spring and summer, the fern grows actively — keep it lightly moist, feed monthly, and divide or repot as needed. In fall and winter, growth slows, so reduce watering slightly and hold off on feeding, while guarding against the dry air of indoor heating that can brown the fronds.
Frequently asked questions
Why are my Button Fern's fronds turning brown and crispy?
Crispy fronds usually indicate air that is too dry or soil that dried out too much. Keep the soil lightly moist, raise humidity if your air is very dry, and keep the fern away from heating vents.
How is Button Fern different from other ferns to care for?
It comes from drier rocky habitats, so it tolerates lower humidity and slightly drier conditions than most ferns. Still keep it evenly, lightly moist rather than letting it fully dry out.
How much light does it need?
Bright indirect light is best. Avoid direct sun, which scorches the fronds, but give it enough brightness to stay full — deep shade leads to sparse, slow growth.
How do I propagate a Button Fern?
Divide the clump in spring. Separate it into sections that each keep their own roots and several fronds, pot them individually in moist mix, and keep them warm and lightly moist until established.